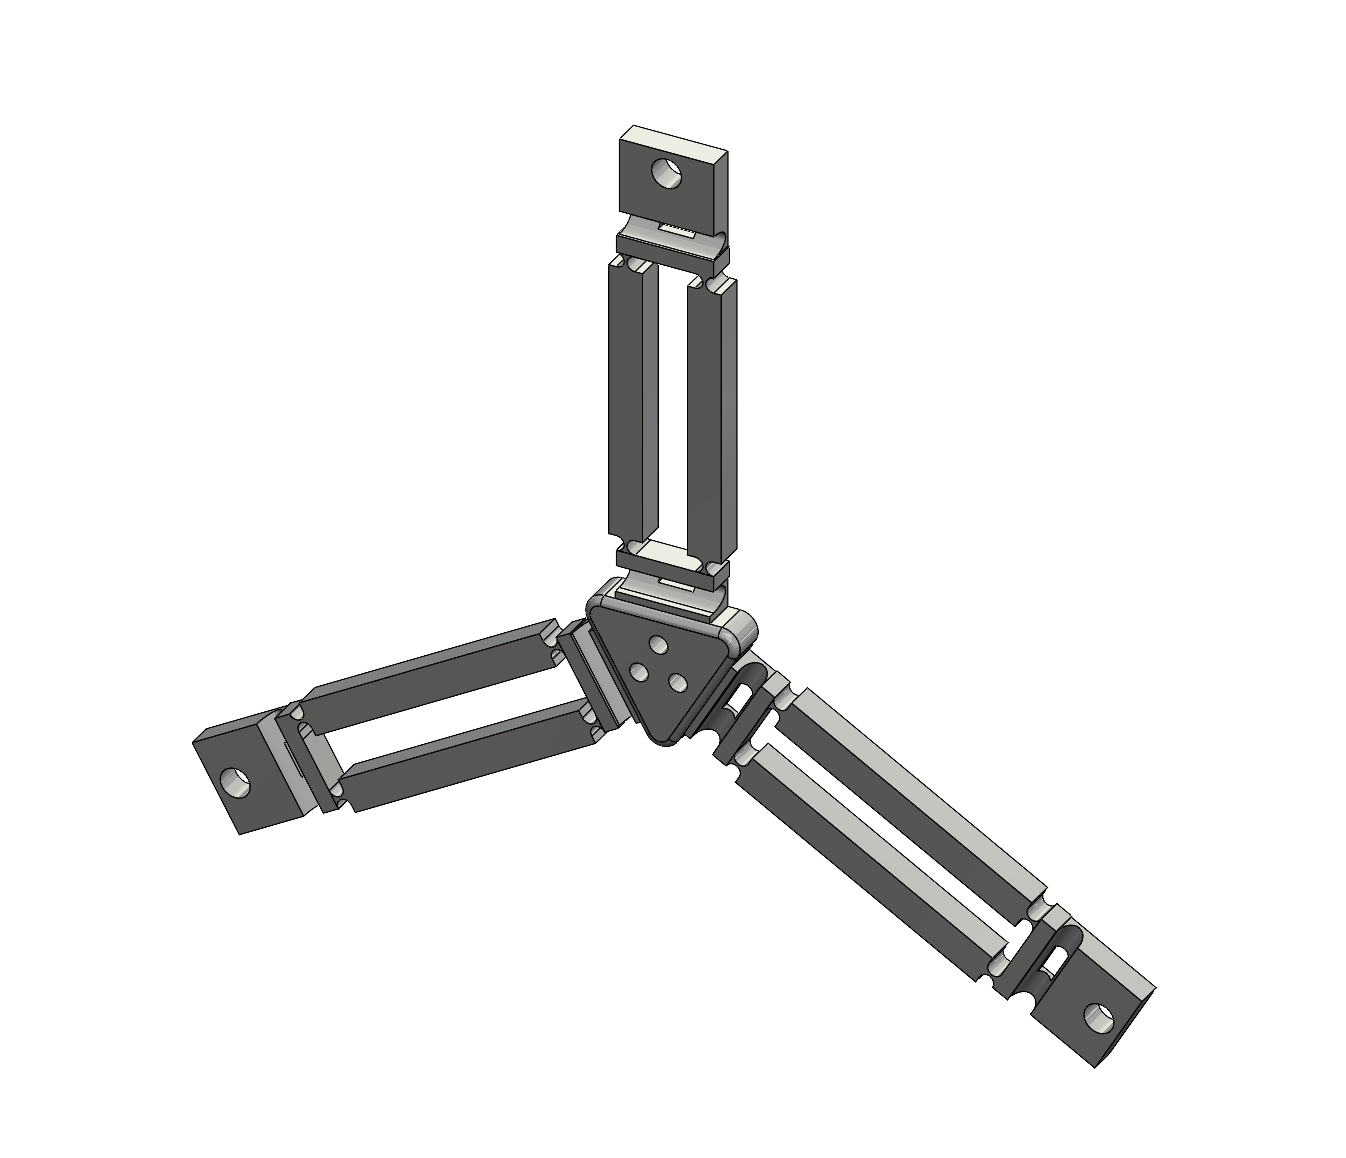
Component list for a single delta robot assembly:
| Name | Number | Link |
|---|---|---|
| Actuonix L12 100mm Linear Servo | 3 | |
| FDM printed star-shaped mounts | 1 | |
| Adafruit Feather M0 | 1 | |
| Adafruit FeatherWing DC and Stepper Motor Driver | 1 | |
| ADS1015 ADC | 1 | |
| Plexiglass Delta Holder | 1 | |
| 8-32 ½” Button Head Screw (Pack of 100) | 1 | McMaster |
| Female Threaded Standoff 3-½” Long, 8-32 Thread | 3 | McMaster |
| Male-Female Threaded Standoff 1-1/2” Long, 8-32 Thread | 3 | McMaster |
| 8-32 ⅞” Button Head Screw (Pack of 100) | 1 | McMaster |
| 8-32 Hex Nut (Pack of 100) | 1 | McMaster |
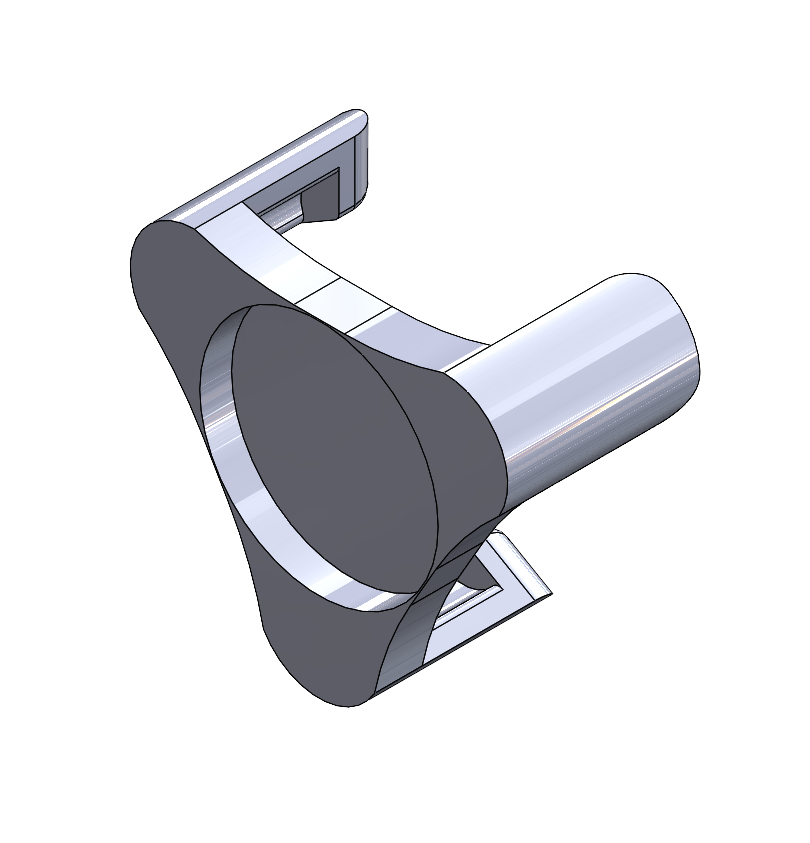
| SLA printed fingertip clip | 1 | |
| FDM printed soft parallelogram links | 1 | |
| FDM printed fingertips | 1 |
Click on the respective images to download their CAD files.
FDM 3D Printed Components
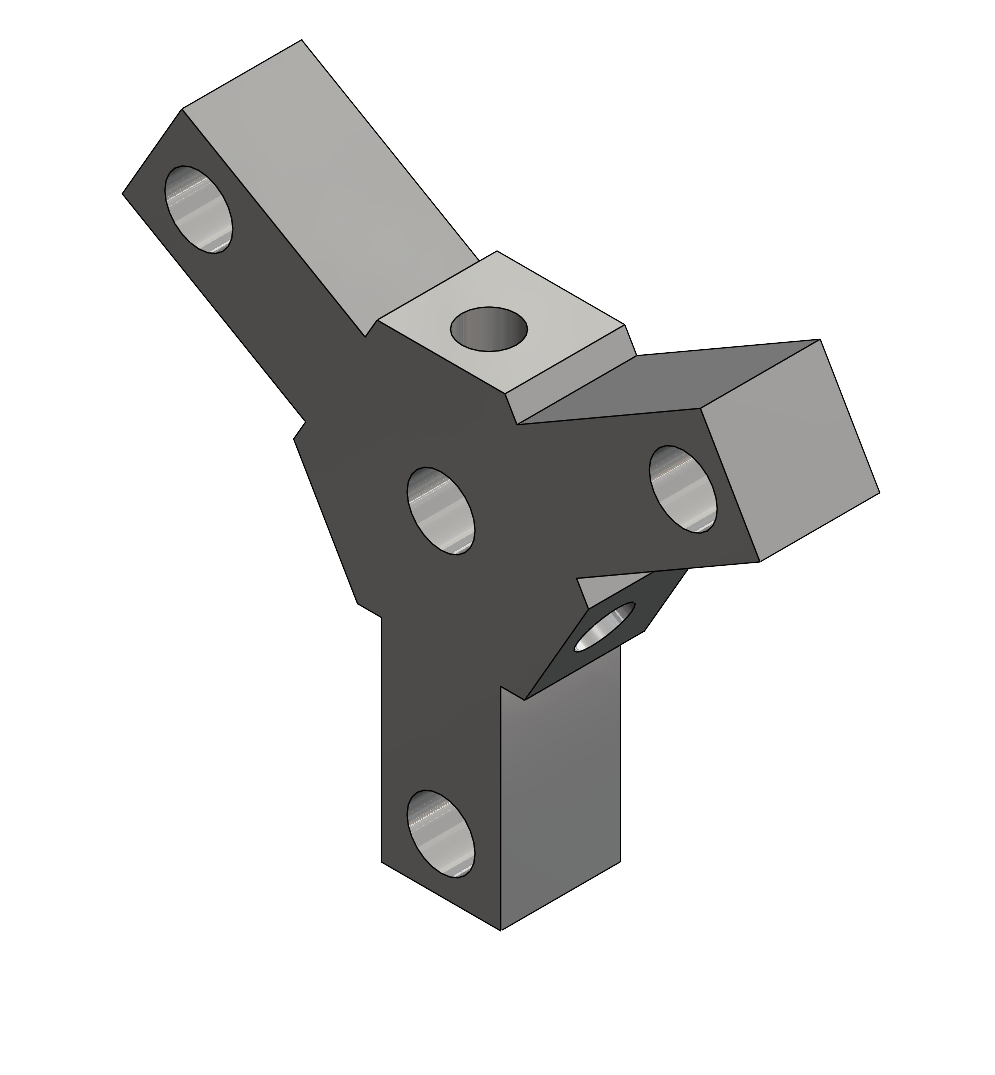
FDM printed star-shaped mounts
FDM printed soft parallelogram links
FDM printed fingertips
SLA 3D Printed Components
SLA printed fingertip clip
Laser Cut Components
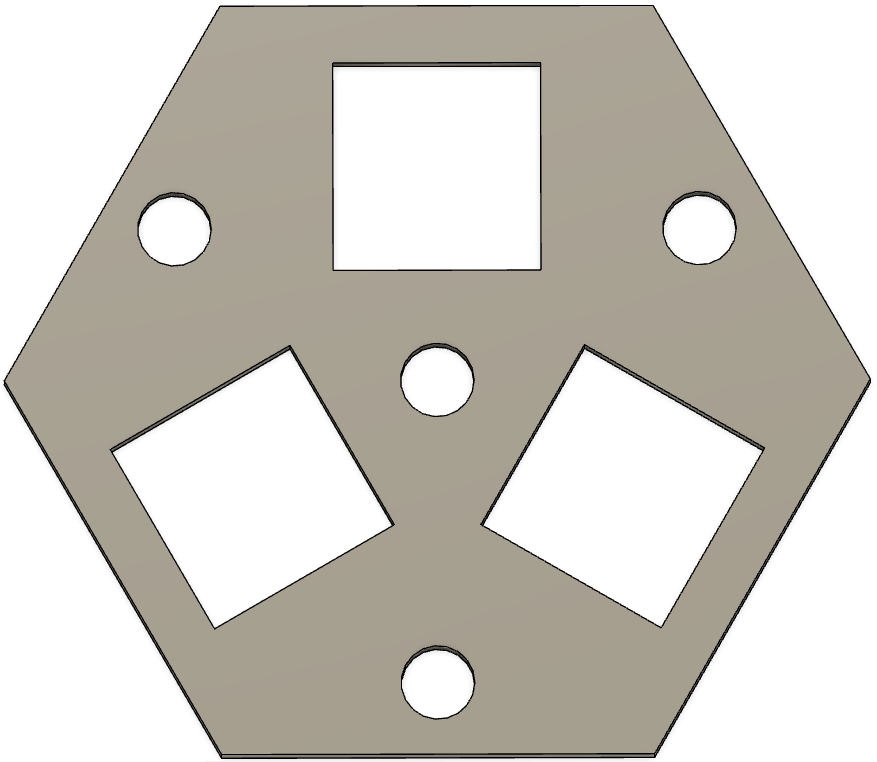
Plexiglass delta robot holder
Orderable Components + Assembly
Actuators
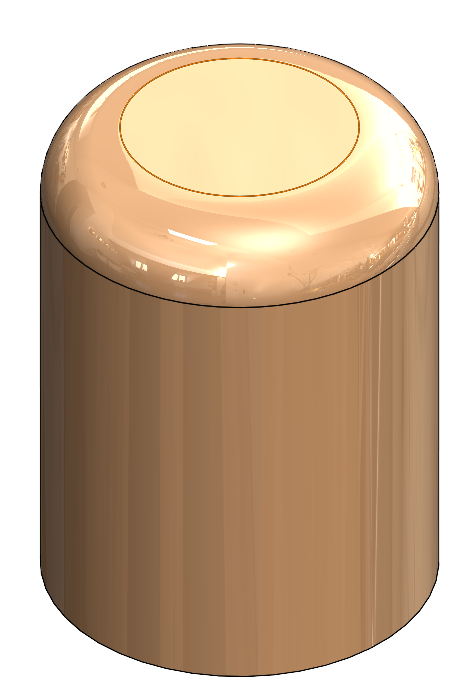
Actuonix L12 100mm Linear Servo
Electronics
Adafruit FeatherWing DC and Stepper Motor Driver
Power Shield
Assembly
- Print a star shaped connector on the 3D printer using the default fine printing settings for PLA on your 3D printer.
-
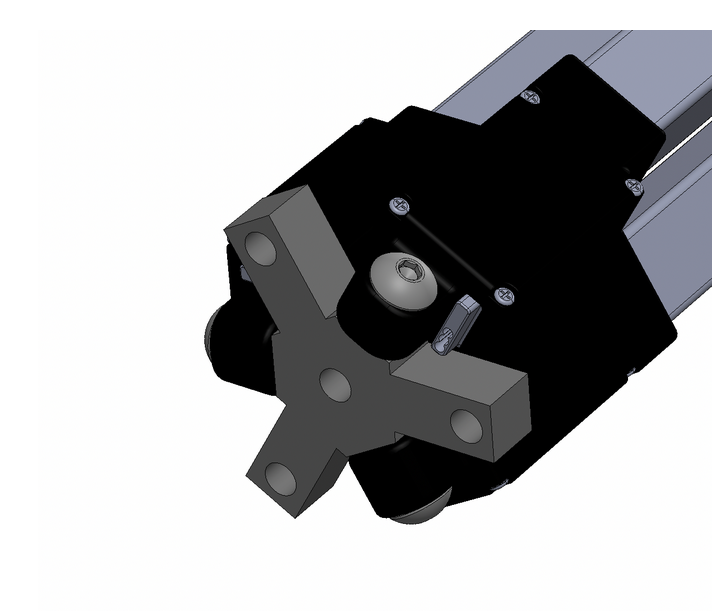
Attach the 3 linear actuators to the star shaped mount as shown below:
- Insert the 3 linear actuators through the 3 holes in the delta robot holder plexiglass cutout, spaced apart using the 3-½” Long Standoff.
- Attach the 3 legs of the parallelogram delta links to each of the linear actuators using 8-32 ½” screws and nuts.
- Follow along This Guide to learn how to put the electronics together
- Use the single delta shield to produce the PCB